Overview:
In today’s glamorous world of fashion, so many beauty treatments are available at the moment, that it’s hard to keep up. Enhancing your eyelashes is one of them and is probably one of the favorite things that you can do for your looks. Your eyelashes can be styled in different ways with the help of a bunch of lash treatments that are quite popular these days. The most important one is lash lamination. In this blog, we’re going to unveil some bits about lash lamination and guide you through the whole procedure if you want this treatment for yourself. So stick around.
What exactly is lash lamination?
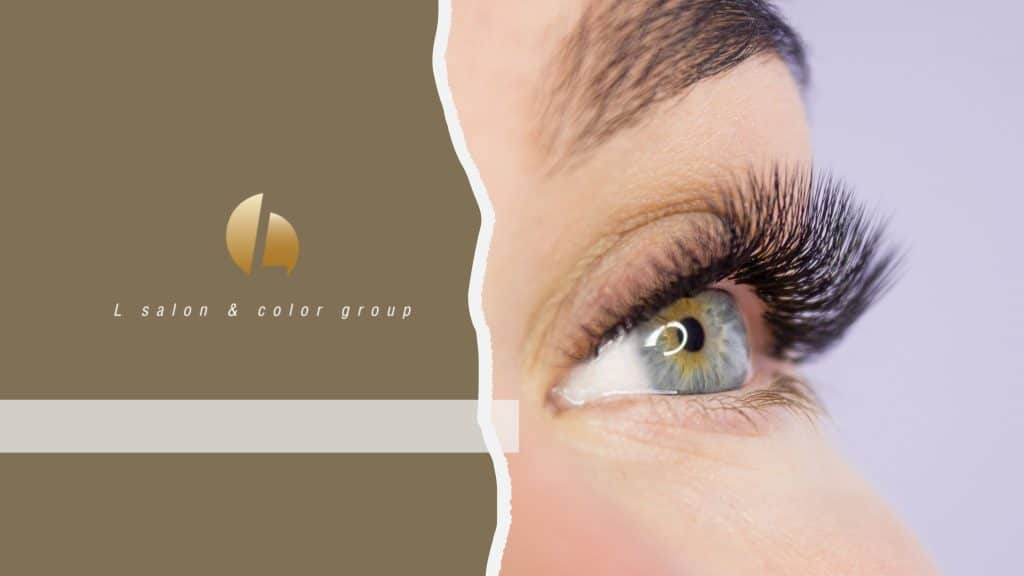
Lash lamination is a cosmetic procedure designed to enhance the appearance of eyelashes. It’s a chemical treatment that lifts and curls your natural lashes to make them longer, more lifted, and more open-eyed look. It is a relatively recent beauty trend that gained popularity as an alternative to eyelash extensions. The treatment is the same all around but different stylists call it with different names like lash lift, lash perm, lash lamination, permanent lash curl, etc.
What is the procedure for lash lamination?
The treatment is done by applying several products to your natural lashes. These products penetrate deep into the lashes to achieve maximum results. Here is a step-by-step guide on how this process is done.
Step 1 – Lashes are cleaned to get rid of all the makeup, skincare, and sebum residues to provide a clean canvas for chemicals to penetrate evenly.
Step 2 – Lower lashes are covered with patches or tape and a curling rod which is a soft silicone pad in the shape of a rod is placed above the upper lash line.
Step 3 – Lashes are lifted upward and glued onto the curling rod.
Step 4 – Eyelashes are coated with a perming solution for about 10 minutes that will soften and relax them into a straight shape.
Step 5 – The perming solution is wiped off and a fixing solution is applied for 10 minutes as well which neutralizes the perming solution and hardens the lashes into a curled shape.
Step 6 – The fixing solution is cleaned off and you get your lashes laminated. However, if you want to make your lashes darker then a lash tint can do this job better. A tint in the desired shade is applied to the lashes for about 20 minutes just like a hair dye.
Step 7 – The curling rod is removed and the lashes are cleaned from product residues. Now you can open your eyes.
What are the tips for maintaining lash lamination?
You need to follow certain tips to help your curl set and be long-lasting. A typical lash lift lasts up to 6-8 weeks.
- Don’t get your eyelashes wet with water, sweat, steam, or tears for 24-48 hours.
- Avoid touching them for 24 hours.
- Don’t wear eye makeup for a day.
- Don’t clean the lashes harshly, especially in scrubbing or rubbing motions.
- Always use a gentle, oil-free cleanser to remove eye makeup.
- Avoid wearing waterproof mascara as it contains oils that are hard to take off.
What are the benefits of lash lamination?
Here are a few advantages of a lash lift that you may consider before doing the treatment.
- There are no lash extensions or false lashes involved so you always get the result more natural and subtle.
- Lash lifting can last for weeks without the hassle of daily upkeep.
- A lash lift is a simple procedure that can be done the same day in a salon.
- It’s a low-maintenance treatment that requires very little care of simple cleansing and conditioning.
- It’s a cost-effective treatment, unlike expensive lash extensions.
Wrapping up:
Lash lamination can be a great option for those who want to enhance their natural lashes without the maintenance required for eyelash extensions. However, as with any cosmetic procedure, it’s essential to have the procedure performed by a trained and experienced professional to ensure safety and desired results. We at L Salon are available for free consultation and to help you out regarding all your queries if you want to get your lash lift done. Give us a call and once you’re satisfied book your appointment with us.